
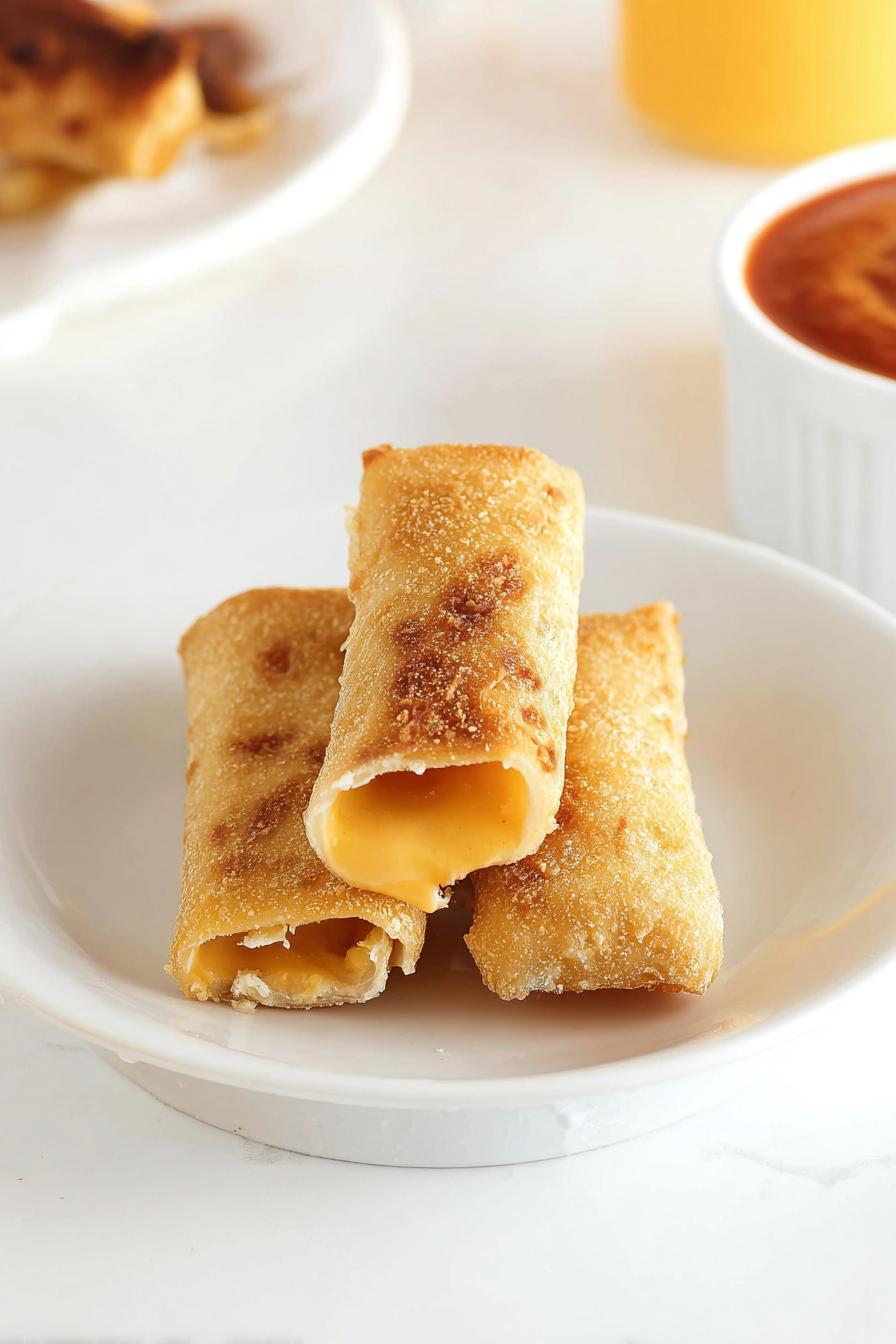
Grilled Cheese Roll Ups bring a cozy warmth that melts in your mouth with each bite. I’ve tested this recipe numerous times, making tiny adjustments to fine-tune the flavor and texture. These golden delights are quick to make, and they pair beautifully with a dip—like that rich marinara sauce I love. If you’re a fan of easy recipes, check out my Homemade Garlic Bread for a perfect side.
About Grilled Cheese Roll Ups
These Grilled Cheese Roll Ups have a special place in my heart. They transform a classic comfort food into a fun, portable version that’s perfect for kids and adults alike. I first created these during a busy weeknight when I needed something fast and satisfying. Plus, they’re budget-friendly and can turn into an imaginative family dinner while using simple ingredients.
- Quick prep makes them great for weeknight meals.
- Versatile—you can switch up the cheese or dips easily.
- A family favorite that combines nostalgia with fun.
- Did you know? Grilled cheese sandwiches date back to the ancient Greeks! They’ve evolved but remain a beloved staple.
Key Ingredients & Their Roles
- Bread: Soft white bread provides a tender, flaky outside. For a twist, try whole grain or sourdough.
- Cheddar Cheese: Offers that gooey, melty texture. Feel free to mix it up with mozzarella or pepper jack for a kick.
- Butter: Creates that deliciously golden crust. Use unsalted butter for precise flavor control.
- Dipping Sauce: The choice of marinara or ranch adds another layer of flavor.
How to Make Grilled Cheese Roll Ups
- Start by trimming the crusts off each slice of bread. Using a rolling pin, flatten each slice to about 1/8-inch thickness. You’ll notice it softens instantly!
- Sprinkle each flattened slice with roughly 2 tablespoons of shredded cheese, making sure it’s evenly distributed. Roll it up tightly to secure that cheesy goodness inside.
- Heat 2 tablespoons of butter in a non-stick sauté pan over medium heat. As it melts, your kitchen will begin to smell inviting! Listen for that gentle sizzle.
- Dip each roll-up in the remaining melted butter before placing it in the pan. Sauté for 1-2 minutes per side until they are golden brown and crisp outside. Transfer to a serving platter and enjoy!
Pro Tips & Troubleshooting
- When rolling the bread, don’t rush! Take your time to ensure the cheese stays inside—no one wants a cheesy mess on their hands.
- A common mistake is overcrowding the pan. Be sure to give each roll-up space to brown evenly.
- Feeling adventurous? Experiment with fillings—add cooked ham or sautéed vegetables for a savory twist.
- These roll-ups double well! Simply use twice the ingredients for a crowd-pleasing snack.
Storage & Make-Ahead Guide
Store your Grilled Cheese Roll Ups in an airtight container in the fridge for up to 3 days. They also freeze beautifully for up to 2 months. For reheating, pop them in the oven at 350°F for about 10 minutes, or use a skillet to revive that crispy texture. I noticed they hold up well in storage—just keep the lid on tight!
Serving Suggestions
These roll-ups pair excellently with a side of creamy tomato soup or a fresh garden salad. Try them alongside my Strawberry Pretzel Salad for a unique contrast!
Frequently Asked Questions
- What type of bread works best? Soft white or whole grain bread gives the best results.
- Can I use different cheese? Absolutely! Mozzarella or Monterey Jack are delicious alternatives.
- How do I make these ahead of time? Prepare and store them in the fridge or freezer as noted above.
- What dips can I use with these? Marinara, ranch dressing, or even a spicy aioli work wonderfully!
- How can I keep them crispy during storage? Store them in a single layer to maintain their texture.
Final Thoughts
I genuinely love whipping up these Grilled Cheese Roll Ups when I need a simple yet satisfying snack. They never fail to impress! What’s your favorite dip to enjoy with them? I’d love to hear about your kitchen adventures as you try this recipe!
More Recipes You’ll Love
- Mini Grilled Cheese – a fun twist on the classic with bite-sized pieces.
- Homemade Garlic Bread – perfect for dipping alongside your grilled cheese.
- Spinach and Feta Quesadillas – great for adding greens to your meal.
- Creamy Cucumber Salad – a refreshing side to balance the richness.
- Strawberry Shortcake – for a delightful sweet finish to your meal.
Grilled Cheese Roll Ups
Ingredients
- 8 slices soft white bread
- 1 cup shredded cheddar cheese
- 6 tablespoons butter divided
- to taste marinara sauce, tomato soup or ranch dressing for dipping, if desired
Instructions
- Trim the crusts from each slice of bread. Roll one slice out to about 1/8-inch thickness with a rolling pin. Sprinkle the rolled out slice with about 2 tablespoons shredded cheese. Roll up tightly. Repeat with remaining bread slices and shredded cheese.
- Place 2 tablespoons butter in a large non-stick saute pan and melt over medium heat.
- Melt remaining 4 tablespoons butter in a shallow bowl in the microwave. Dip one roll up at a time in the melted butter in the shallow bowl and then transfer to the saute pan. Allow roll ups to saute for 1-2 minutes per side until golden brown and buttery crisp on the outside. Remove to a serving platter.
- Serve with tomato sauce, tomato soup or ranch dressing for dipping, if desired.